The Setup
For a React based blog you just need a single package, @lyket/react and you are ready to start adding claps to your website.
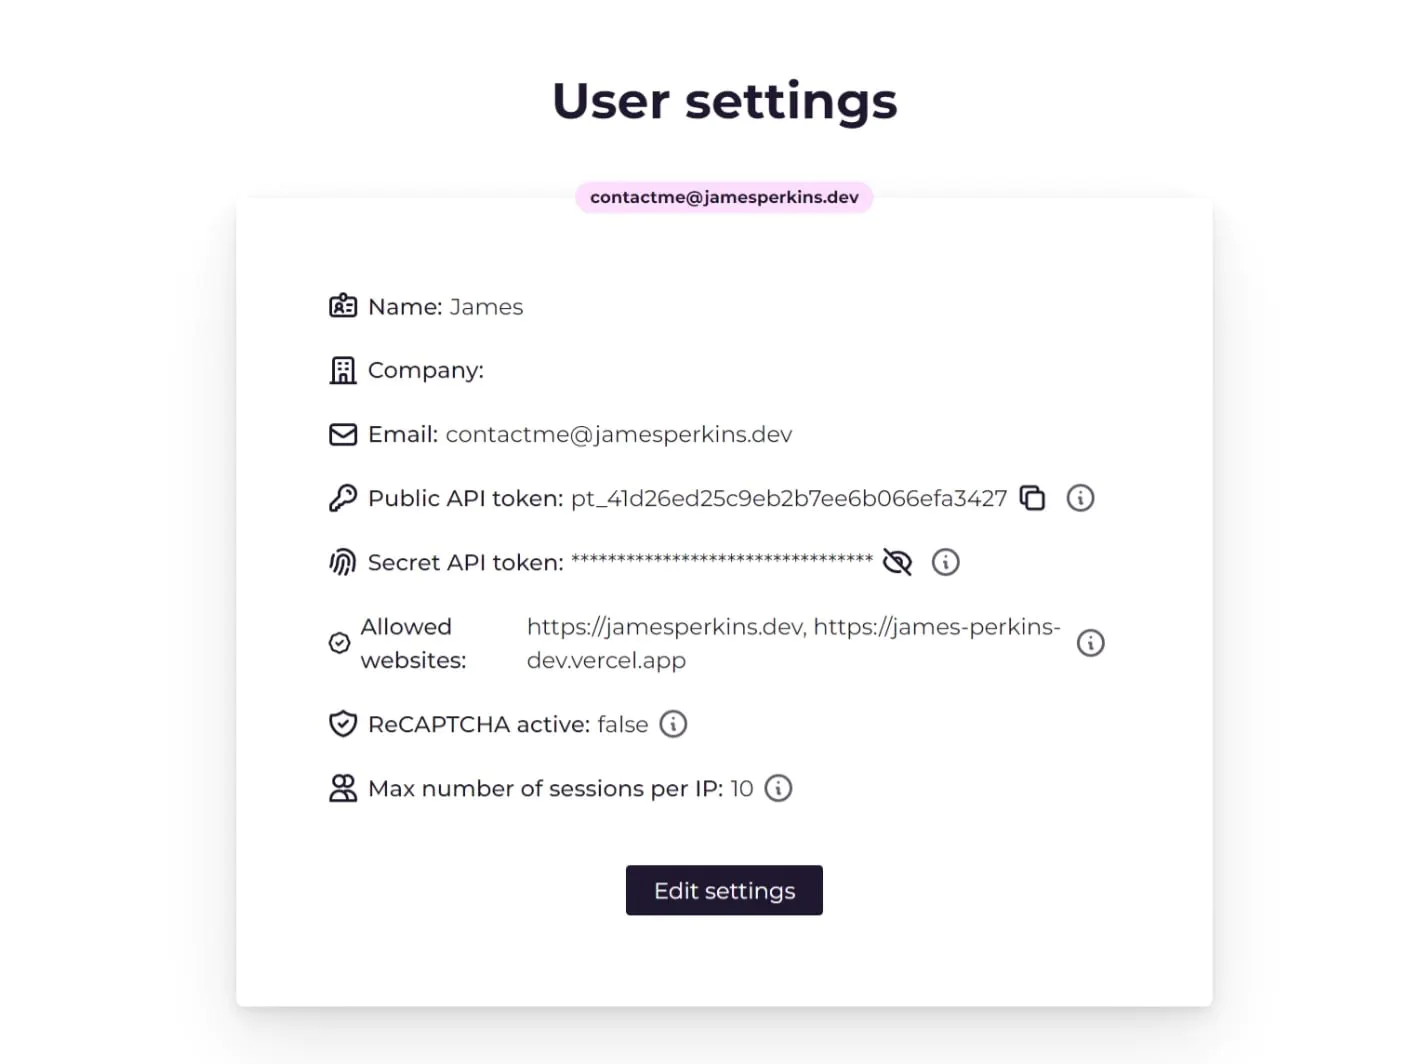
Next you need to signup for your Lyket account which can be found at https://lyket.dev . Once you signed up grab the Public API token from the settings.

Wrap our _app.js
Now that we have all the required pieces, we can wrap our application in a provider so we can use it with Lyket. First you need to import Provider from Lyket but instead of importing as Provider let's use LyketProvider .
import { Provider as LyketProvider} from “@lyket/react”
Now we need to wrap our application in this provider and pass in our API token so Lyket can know which account to use.
Your _app.js should look similar to the following:
import '../styles/index.css'
import { Provider as LyketProvider} from “@lyket/react”

export default function MyApp({ Component, pageProps }) {
  return (
    <LyketProvider apiKey="[YOUR-API-KEY]">
      <Component {...pageProps} />
    </LyketProvider>
  );
}
Using Lyket on a page.
Lyket is now available on any page we want. Open up the page you want to use Lyket on and add the follow import import { ClapButton } from '@lyket/react'; then we can use this component wherever we want. For example:
import { ClapButton } from '@lyket/react';

export BlogPost = ({ title,slug, content }) => {
  return (
    <div>
      {title}
      <ClapButton id={slug} namespace="blog-posts" />
      {content}
    </div>
  );
};
That is it, now your readers can clap when they love your post.